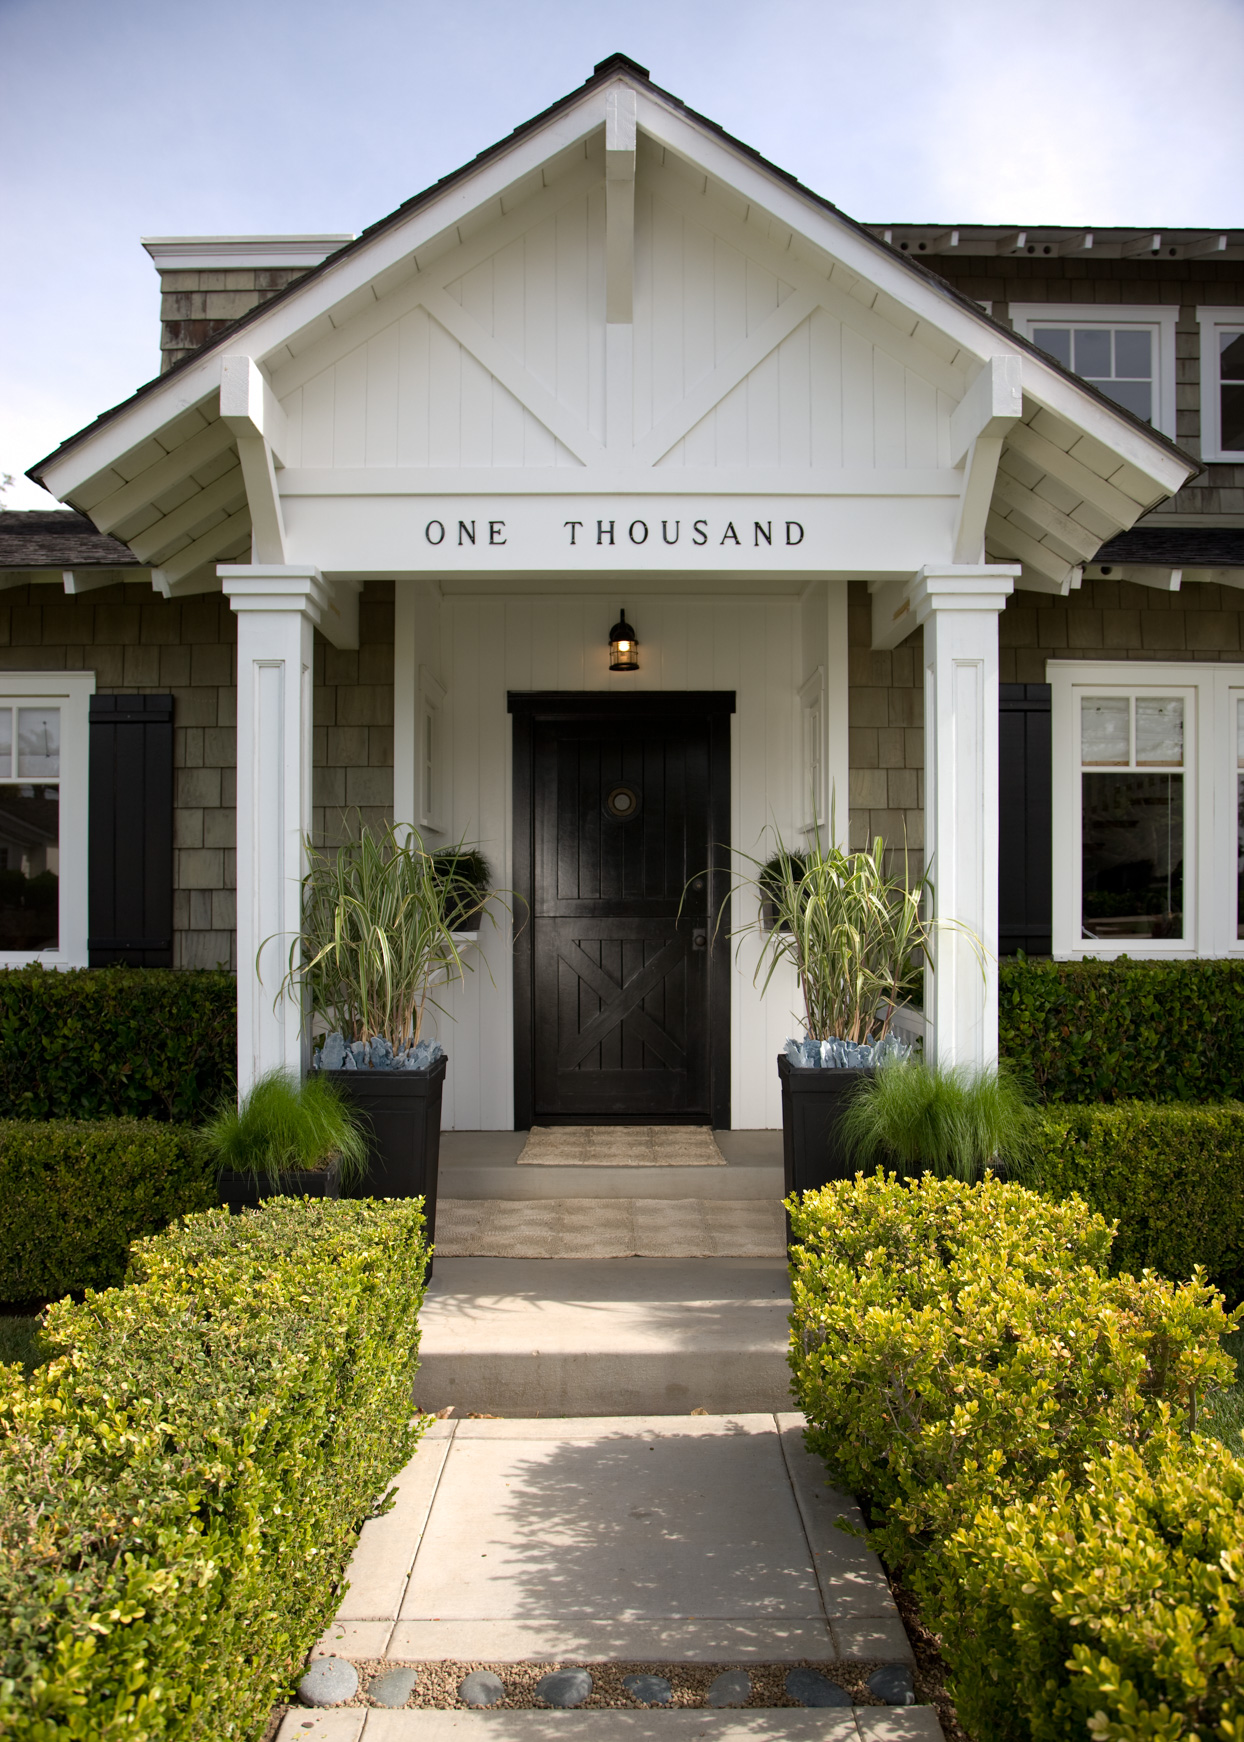
House numbers might be a small piece of an exterior facade, but they are important for both function and beauty. Fortunately, you don’t have to settle for plain plastic numbers. There are tons of creative ideas for house numbers that can add style and personalization to your exterior. When selecting house numbers, first consider the architectural style of your home. For a contemporary home, consider a streamlined house number design; cottage-style homes, on the other hand, often benefit from unique house numbers with a little more flourish. Decide on the style that best suits you and your home as you gather inspiration.
House Number Materials
A variety of materials can be adapted to creative house numbers. Consider choosing a material that’s already somewhere else on your home’s exterior, such as metal or wood. You can also use house numbers to introduce an unexpected element or color to your exterior. Here are some house number materials to consider:
Concrete or stone: Concrete or stone house numbers can be cut into a single block or stained a different color for accent.
Corten steel: Also called weathering steel, this material supplies an unusual color and texture for a house number, particularly when contrasted against brick or a cool color such as gray.
Paint: House numbers can be painted directly on a door, a section of siding, or another piece of wood to be hung on a house. Use a color that already exists in your exterior palette or try a contrasting hue for an accent.
Stainless steel: A smart choice for contemporary homes, stainless steel works well with a variety of background materials, including mounting on the house in contrast to wood or attached to a separate piece of contrasting metal.
Wood: Mounted on another piece of wood or on the house itself, a carved-wood house number lends a traditional accent to a home.
You should also consider the background material for your house numbers.
Some designs are transparent or outlines, so the color behind the numbers shows through. This could be your house color or a secondary material that serves as part of your house number design. Backlit or illuminated house numbers have an added element of texture and dimension that works well with a range of styles. Plus, they help visitors find your home at night.
Where to Place House Numbers
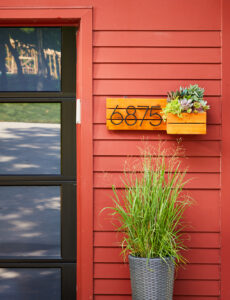
The standard spot for house numbers is near the mailbox or above the front door, but creative house numbers can be installed in a range of places. Beyond attaching them to the house itself, other ideas on where to put house numbers include a post along a sidewalk or entry point to the yard. A railing or fence might offer a good spot for house numbers to hang near the sidewalk or front door. You can also attach or paint the numbers onto stair risers in a front walkway.
DIY House Number Ideas
Create a custom display that suits your home’s style with these clever ideas for DIY house numbers.
Modern House Number Plaque
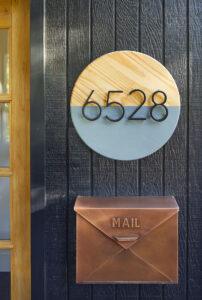
This modern house number idea takes just an hour to make. Mark the center line of an 18-inch wood round in pencil; apply painters tape along the line to mask the half to remain unpainted. Brush matte medium ($15, Michaels) along the tape’s edge. Prime half the round, then brush with two coats of exterior paint; remove the tape. Fill any gaps with a fine paintbrush. When dry, seal the round with clear polyurethane. Attach your house numbers and hang from a picture hanger or screw into the siding.
photo credit: Marty Baldwin
 3-D House Number Display
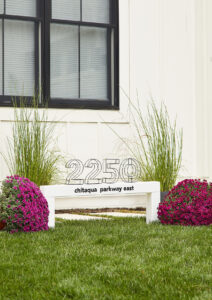
Create a spatial look from cedar 4×4s and 3-D numbers (similar ones are available at tableclothsfactory.com or on Amazon). Cut two lengths of 4×4 to create legs equal to 12 inches plus the depth of your area’s frost line. For the crosspiece, cut a 4×4 to 44 inches. Apply wood glue to each leg and attach the crosspiece using pocket-hole screws and a jig. Paint in your desired color. Print your street name so the letters are 1-1/2 inches tall. Transfer the address to the crosspiece using a pencil or carbon paper. Fill in letters with a black paint pen or permanent marker. Dig holes the depth of the frost line and insert the posts, making sure the crosspiece is level. Fill holes and tamp dirt to secure. Paint dimensional house numbers with exterior spray paint in your desired color then attach to the top with construction staples.
No room for a freestanding base? Install these numbers onto the siding. Spray-paint them first for a pop of color.
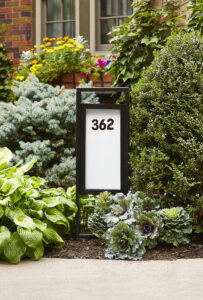
DIY House Number Sign
Spell out your address with a sign that stands out. From 1×6 lumber, cut two pieces to 14 inches for the exterior frame top and bottom and two 38-inch pieces for the sides. For the inner frame, cut four 24-1/4-inch pieces and four 12-1/4-inch pieces from 2×2 lumber. Miter the corners of the 2×2 pieces to 45 degrees. Glue and clamp the exterior frame with the side pieces flush with the outside edges of the top and bottom; screw. Glue and nail or screw the two inner frames. Sand, prime, and paint all the frames. Sandwich plexiglass (keep the film intact) between the two smaller frames; pin-nail the bottom of the frame to keep the plexiglass in place and pin-nail inside the outer frame 3-1/2 inches from the top. Position adhesive house numbers on the plexiglass.
To install this sign, attach rebar to the back of the structure and sink into the ground. For a dramatic nighttime effect, backlight your house number sign with a spotlight.
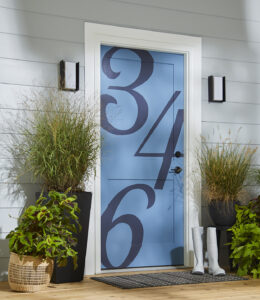 Painted House Numbers
Update your front door with a fresh coat of color and can’t-miss house numbers. Divide your door height by the number of numerals in your address. Add a few inches to this measurement so the numbers nestle for visual interest. Print out numbers to fill those measurements; you may need to tile and tape them together. Cut out the numbers, tape them to your door, and trace. Paint inside the traced lines using several coats to create distinctive and lasting numbers.
If you’re not a fan of painting freehand, make a stencil from contact paper. Trace numbers onto the paper and cut out with a crafts knife. Apply to the door and paint.
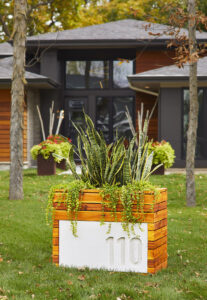
Cedar Planter House Number
Set a modern style with a cedar sign that also serves as a planter. The structure is clad in 1×3 and 1×4 cedar boards, which were stained to complement the home’s exterior (you could also paint the boards or leave them unfinished to weather naturally). Fill the planter with tall plants such as these snake plants, which can come inside during the winter, and trailing plants.
Concrete reinforces the modern vibe on the planter. This project uses a white countertop mix to form the number plaque; additional colors are available online. Build a shallow concrete mold from a material with a smooth surface. Print, trace, and cut your house numbers from 1-inch rigid foam insulation. Place the numbers backward on the back of the mold; glue with E6000 adhesive ($5, Michaels) and run a bead of quick-drying caulk around the edges of the foam numbers. Smooth with your finger and a wet paper towel; allow to dry. Mix concrete, following directions on the packaging. Spray the inside of the mold and numbers with nonstick cooking spray. Pour concrete into the mold so it’s 2-1/2 inches thick; smooth with a trowel. Set three or four rebar rods into the concrete for strength. Let the concrete dry. Unscrew mold and flip over to loosen the project; seal with a concrete sealant. Secure the plaque to the planter with concrete adhesive.
Caitlin Sole, Better Homes & Gardens

