Planning to carve a pumpkin or two this Halloween? Getting your pumpkin seed-free and ready to be carved is crucial. Fairly simple, we’ve got a few tips that make the messy task even easier. In the steps below, we’ll show you everything you need to know about how to clean out a pumpkin — from how to make the initial cut to all the pumpkin carving tools you can use to get it done quickly.
One thing you’ll definitely want to do before carving: Protect your work surface. Whether you’re carving your jack-o-lanterns indoors or outside, you’ll want to put down some newspaper to keep the sticky pumpkin insides from getting everywhere. Doing the work on newspaper also makes it easier to roll the paper up with the pumpkin guts inside when you’re done.
Supplies Needed
Pumpkin
Thin serrated knife
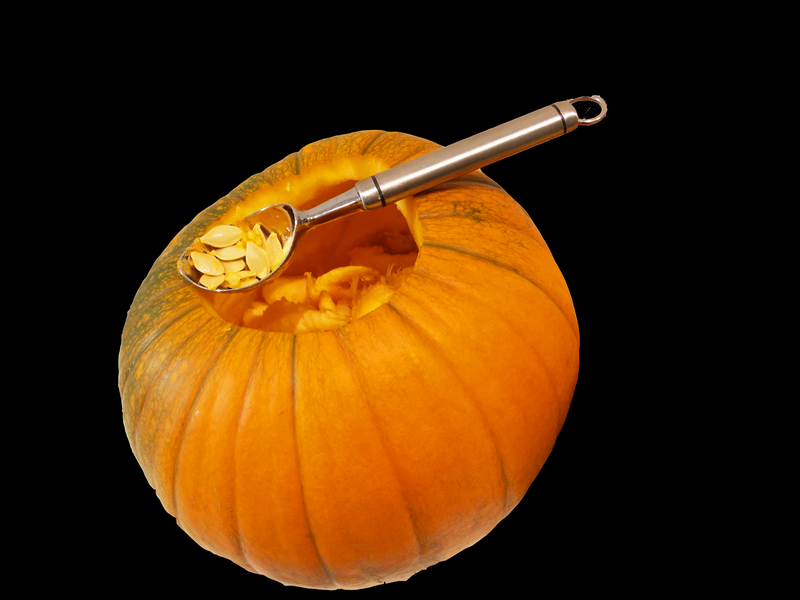
Large metal scoop
Small knife
Step-by-Step Directions
With a few supplies and these how-to instructions, you’ll have a pumpkin ready to carve in no time. Customize your Halloween pumpkin with one of these printable stencils.
Step 1: Cut a Hole in the Bottom of the Pumpkin. Yes, the bottom!
If you’ve carved a pumpkin before, chances are you cut a circle around the pumpkin stem and reached in through the top to scoop out the pumpkin insides. But we think the secret to carving the perfect pumpkin starts with cutting a hole in the bottom of the pumpkin rather than the top. This will also help make your pumpkin last longer.
Cut a medium-size hole in the bottom of your pumpkin; the hole should be larger than your fist but small enough the cut portion won’t be visible once you stand the pumpkin up. Use a long, thin serrated knife for this step.
Once you’ve carved a complete circle, make two cuts (starting at the perimeter of the circle, facing toward the center of the pumpkin) to form a small triangle-shaped notch. Poke the triangle shape out and use the notch to pull the rest of the circle away from the pumpkin.
Step 2: Remove the Pumpkin Guts
When you’ve removed the bottom portion of the pumpkin’s rind, it’s time for the fun part—removing the pumpkin guts! While reaching in with your bare hands would certainly get the job done, we have a few tips for anyone who doesn’t like the feel of squishing pumpkin guts between their fingers.
*Use a large scoop made of metal. You can find ones with serrated edges in some pumpkin carving kits, or look for a large, semi-curved utensil — like an ice cream scoop — from the kitchen.
*Use a small knife such as a paring knife to scrape the sides of the pumpkin, separating the rest of the guts from the inner rind — this will make the rest of the removal process quick and painless.
Editor’s Tip: Don’t throw out all the pumpkin insides! Save the seeds for a delicious roasted snack.
Step 3: Scrape the Inside of the Pumpkin Clean
Once you’ve scooped out all the stringy pumpkin insides, go back over the inner rind and scrape it completely clean. You can use the same scoop you used before, or use a flat scraping tool that can be found in some pumpkin carving kits. Scrape the pumpkin sides until it is completely clear of all strings and extra loose material — this allows for a smooth, clean cut when you start carving a design into the pumpkin.
Once you’ve cleaned out the pumpkin, wipe the interior walls with a mixture of water and bleach. The bleach mixture will prevent rotting, enabling you to enjoy your carved designs longer. The smell of the bleach can also keep squirrels and other animals who might want to much on your pumpkin art away.
Better Homes & Gardens